Concurrent Production allows a production line to run two or more products at the same time so the related product orders stay in process together. This process is useful in manufacturing environments where one cycle produces multiple products at once. For example, molding or stamping operations are of manufacturing where this may be applicable: a single mold may contain three cavities for producing Part 1 and one for producing Part 2, so a Molding Line would end up running the orders for Part 1 and Part 2 simultaneously.
In this article, we will walk through the flow of establishing Concurrent Production within your system and interacting with it during your daily production management.
Setup
Concurrent Production depends on enabling Product Order Groups at three levels:
Site Property - L2L Support needs to enable this
Production Settings - (Site Admin/Production Planner will need to enable this) At the Production Settings level, enable Enable Product Order Groups in Production Settings > Operator Portal Settings so users can access Product Order Group functionality throughout the system.

Line Configuration - (Need System Manager permissions) Can enable Production Mode setting on the Line Detail screen to choose how the line runs orders. Select Can produce multiple products at the same time (order groups) for lines that run grouped concurrent orders. A line with this setting can still run single product orders when needed.

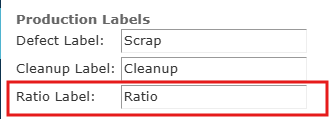
In Production Settings, the Production Labels section includes a Ratio Label field. Use this field to replace the term Ratio with local manufacturing terminology, such as cavitation. The label you enter appears anywhere the grouped production ratio is shown in the system.
After Product Order Groups are enabled at the site, Production Settings, and line levels, you can create Product Order Group Templates. Templates define the products that are typically produced together on a concurrent production line. They are optional, but they provide a faster way to build recurring grouped orders.
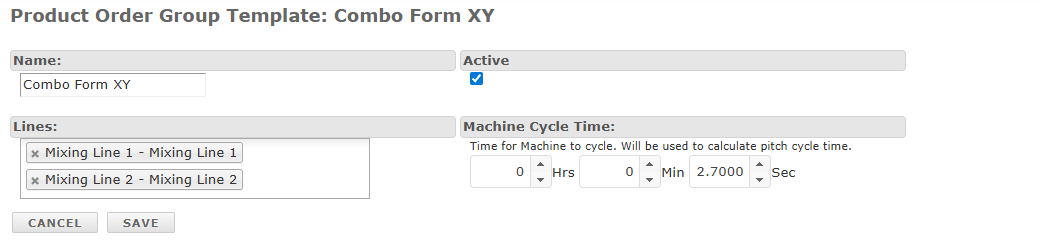
Users with Planner permissions can open Production > Product Order Group Templates to review existing templates or select Add New to create one. Enter a template name, select the lines that use Can produce multiple products at the same time (order groups), and define the Machine Cycle Time. This cycle time represents how long one concurrent production cycle takes for the equipment or tooling.
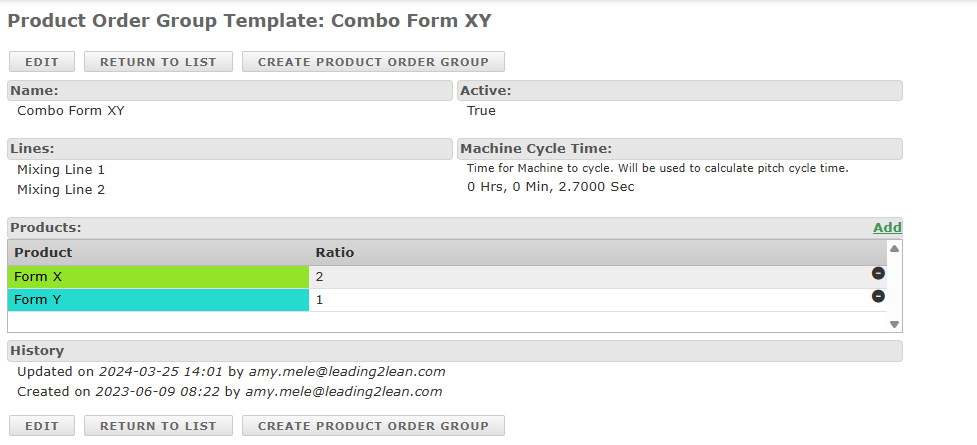
After you save the template, open the template detail page and use the Add link in the Products section to assign products and their planned production ratios. Select a product, enter the ratio for that product, and save. Repeat this process for each product that belongs in the template. To remove a product from the template, select the remove icon at the end of that product row.
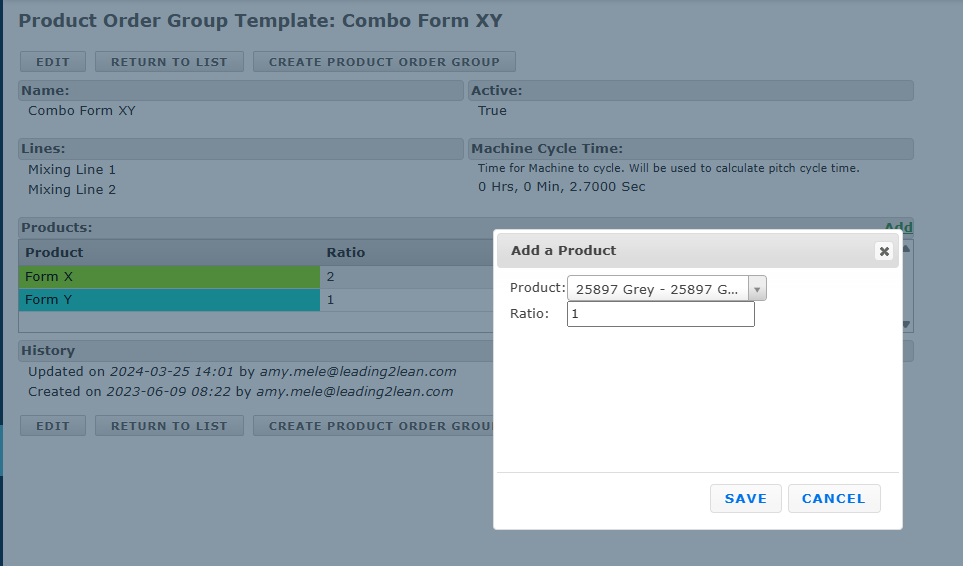
A product to be produced by this Template is selected from the "Product" dropdown list, and the number of units produced of that product at one time entered in the "Ratio" field. Once completed, "Save" is selected. Additional products are included in the Template by repeating the "Add" process. If any product needs to be removed from the Template, the black circle with "-" in it at the end of the product row can be selected within the product table.

Should the Template itself need to be eliminated, it can be deactivated by first selecting the "Edit" button within the Template details screen and then unchecking the "Active" box.

Deactivating a Template does not delete the template, but prevents it from showing in the Product Order Group Templates list unless otherwise selected. The "Filters" button in the upper right of the Templates list screen can be used to modify what templates are listed at a given time based on associated line, product, and status (active, inactive).
Product Order Groups
A Product Order Group links multiple product orders so they run concurrently on a single line. The group is a separate production record that keeps those product orders planned, worked, and completed together.
There are two pathways to create a Product Order Group, depending on the state of any orders to be associated to the Group: independently or from a Product Order Group Template. When creating a Group from a Template, product orders that already exist within L2L cannot be added to the Group - product orders can only be created from within the Group. Alternatively, a Group can be created independently, not from a Template, and product orders can either be added to it, if they already exist, or created from within it.
To create a Product Order Group from a Template, simply access the appropriate Product Order Group Template from the Template list page.
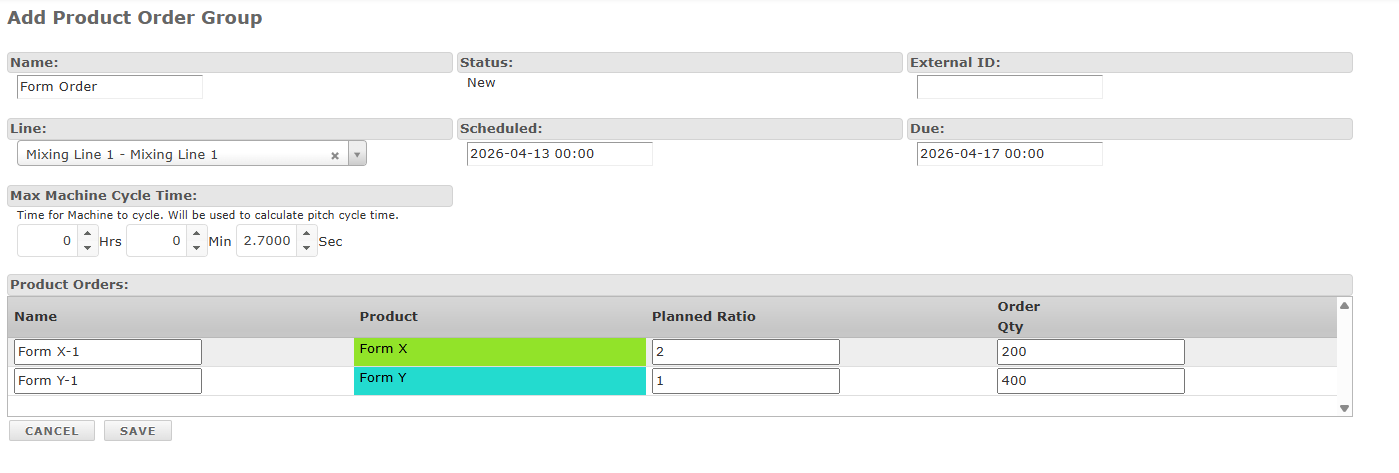
Selecting Create Product Order Group opens the Add Product Order Group page. Enter the group details, including the group name, line, scheduled date, due date, cycle time, and optional external ID.
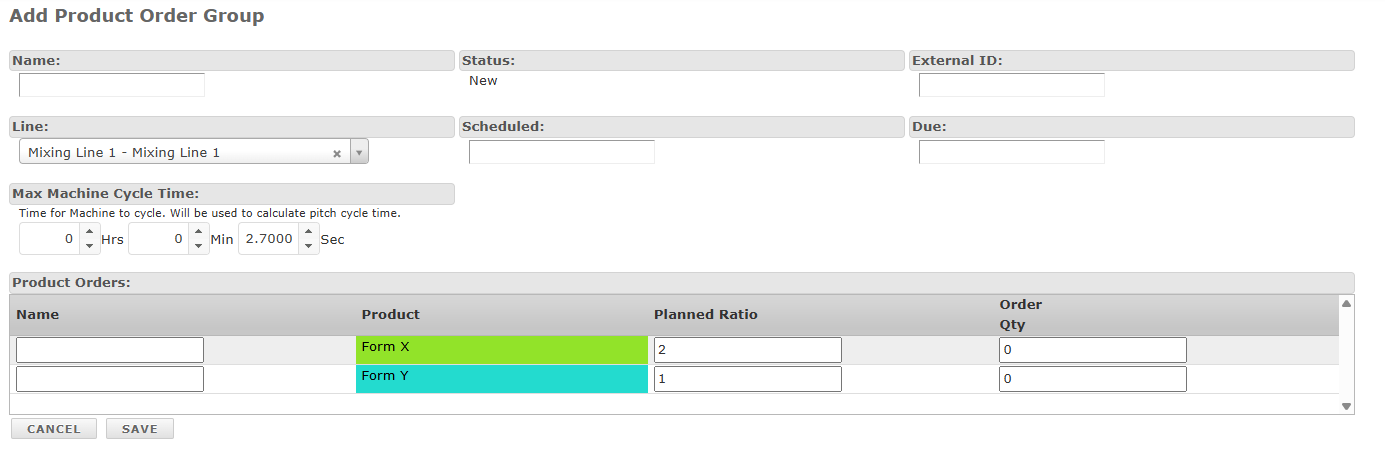
The template carries the products and planned ratios into the Product Orders section so you can enter the order names and order quantities before saving the group. Enter the order name and order quantity for each product order, adjust the planned ratio if needed, and then save to create the Product Order Group and its product orders together.
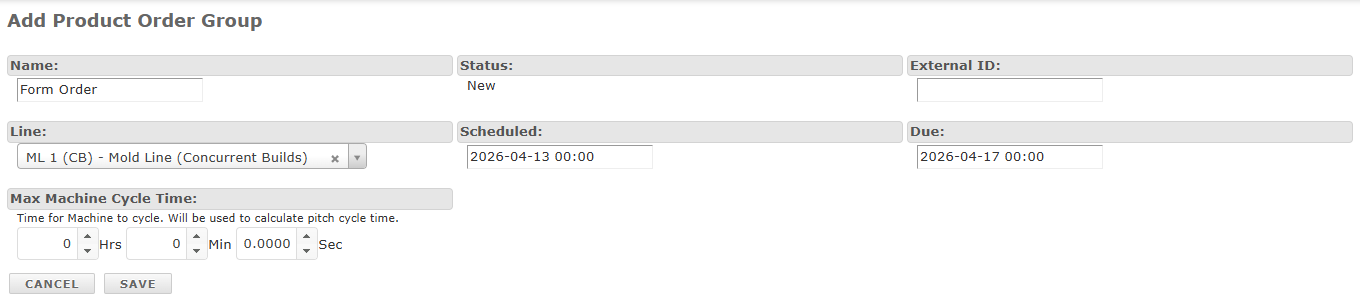
To create a Product Order Group without a template, open Production > Product Order Groups and select Add New +. Enter the group details, including the name, line, scheduled date, due date, cycle time, and optional external ID, and then save the group.

After the group is saved, use the Add link in the Product Orders section to associate product orders with the group. From there, you can add existing product orders or create new ones directly under the group.
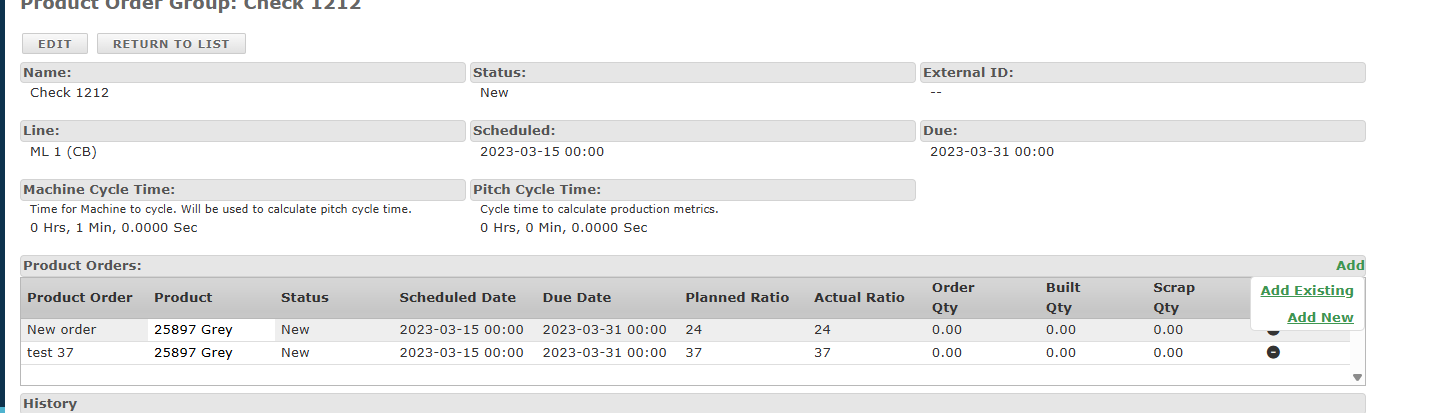
Select Add Existing to attach an existing product order to the Product Order Group. Choose the order from the list and save. (These orders are created with API, imported, or manually from the Product Orders) Repeat as needed until the group contains the required product orders.
Select Add New to create a new product order directly within the Product Order Group. Complete the product order fields as you normally would, and include the group-specific Planned Ratio and Actual Ratio values as needed. For more information about product order fields, see our product order support article.
This action can be repeated as needed to create additional orders to be included in the Product Order Group.
Order Planner & eKanban Planner
Product Order Groups can be scheduled in Order Planner and eKanban Planner alongside other product orders. In these planning views, each product order in the group remains visually tied to the others so the concurrent relationship is clear.
When grouped orders are scheduled, they stay together in the planning views so they remain concurrent. In Order Planner they appear stacked together, and in eKanban Planner they appear side by side.
When using the planning functions on either screen, such as the "Redistribute" or "Heijunka Ideal" buttons or the click-and-drag manual scheduling, the product orders in a Product Order Group move together on the calendar view such that they remain scheduled concurrently. Once product orders that are part of a Product Order Group are scheduled, they are available to be worked on in the Operator Portal as with other non-grouped orders.
Operator Portal
In the Operator Portal, Product Order Groups appear in the eKanban Queue, the Current Order panel, Planned Product Column and the pitch table. The Current Order panel displays the grouped product orders together under the same group so operators can track progress across all related orders in one place.
To begin working on a Product Order Group and have it listed as the Current Order in the Operator Portal, click on one of the orders within the group from the eKanban Queue list, as with a single product order, and select "Start Changeover". This will begin the changeover for the Product Order Group, set all order statuses to "Changeover/Setup" if any changeover times have been specified for the products within the group, split the current pitch, and document the Product Order Group name and 'group' icon in the Actual Product column. The changeover is completed by clicking on an order within the Product Order Group within the Current Order widget and choosing "Finish Changeover". This concludes the changeover period, closing the background dispatch and switching all product order statuses to "Work In Progress".
Pitch information is documented for Product Order Group orders through the same pitch modal pop-up as with single product orders, though the screen has some minor modifications. To enter data for a pitch, the appropriate pitch is selected to access the modal. The modal includes fields for entering Pitch Actual, Pitch Scrap, possibly Operator Count, and Comments as usual with the additions of the Product dropdown and Actual Ratio fields as well. Pitch data for a Product Order Group order (product) is entered by first choosing the proper product from the group from the Product dropdown, then entering the Actual and Scrap values for that product and pitch, updating the actual ratio of products within the group if necessary, and entering the Operator Count and Comments for the pitch before saving. This process is repeated for each product in the group for the pitch to ensure the proper Actual and Scrap quantities are applied to the product orders listed in the Current Order window on the right of the Operator Portal. The Actual and Scrap columns in the Operator Portal will reflect the total values of Actual and Scrap product made across the Product Order Group for that pitch; clicking on the value will open a separate tab detailing the count attributed to each product for the pitch.
When the required quantities for all grouped product orders have been produced and recorded, complete the Product Order Group by selecting an order from the Current Order window and choosing Complete Order. This completes all product orders in the group at the same time and removes the group from the Current Order window. Product orders within the same group share synchronized status changes, so one order cannot be completed separately from the others. If one product reaches its required quantity before the others, that product order remains Work In Progress until the full group is ready to be completed.