Microsoft Teams Notifications
Last updated: June 19, 2026
Why
MS Teams Notifications bring critical events to your attention faster - leading to better communication, increased availability and visibility!
Setup
Public Channel Setup (Recommended)
- Log in to your Teams Account
- Select the three dots > View More Apps > Select or Search for Workflows
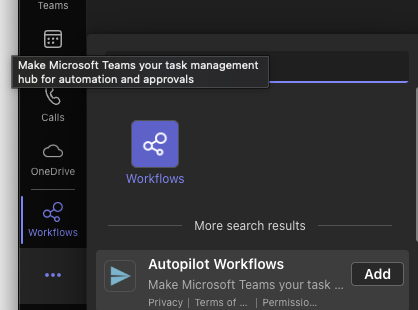
- Use the Template: Use the Template: Send webhook alerts to channel

- Click Next
- Select your 'Team' and 'Channel'. Note: If you don't have a channel, you'll need to create one first.
- Click Create Flow.
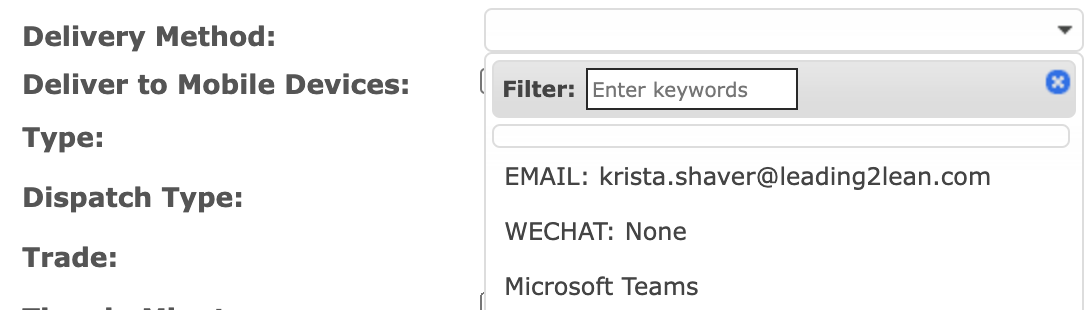
- Copy the URL provided and Paste it into the User Setup Field called 'Microsoft Teams Webhook

- Save.
- If you have Notifications set up already, you can go to that Notification and choose 'Microsoft Teams', otherwise set up a new Notification by following the steps in this article Notifications.
- You'll receive a Notification in Teams. If your Notification Format has Include Dispatch Link, you'll also receive a 'Dispatch' button in Teams to take you directly to the Dispatch.
Note: Notifications take up to 60 seconds to come through.
Private Channel Setup
Follow steps 1 - 10 above followed by:
1. Go back to the Workflows page.
2. Select the private channel workflow > Edit.
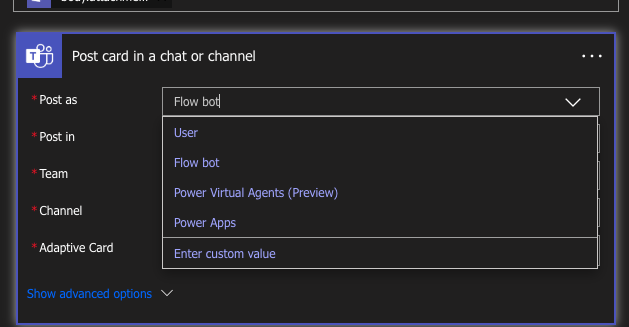
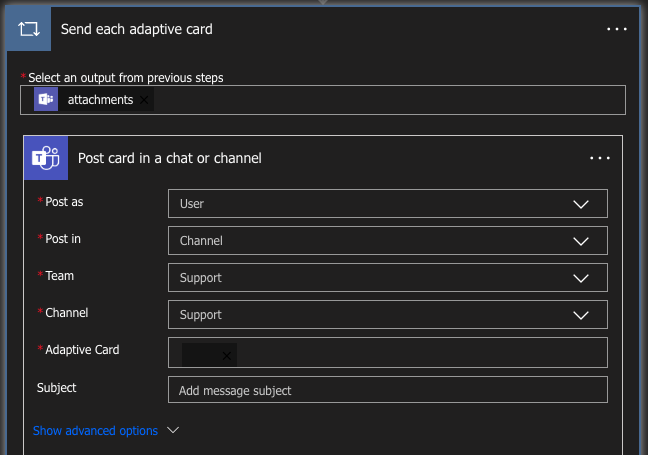
3. Click on the 3 dots on the second step and edit the 'Adaptive Card' to say 'Attachments' instead of what is present (body.attachem..)

4. Now click into the second part of the 'Adaptive Card' and change 'Post Card in a chat or channel' from 'Flow bot' to 'User'.
End Result:
Quick Video Overview: